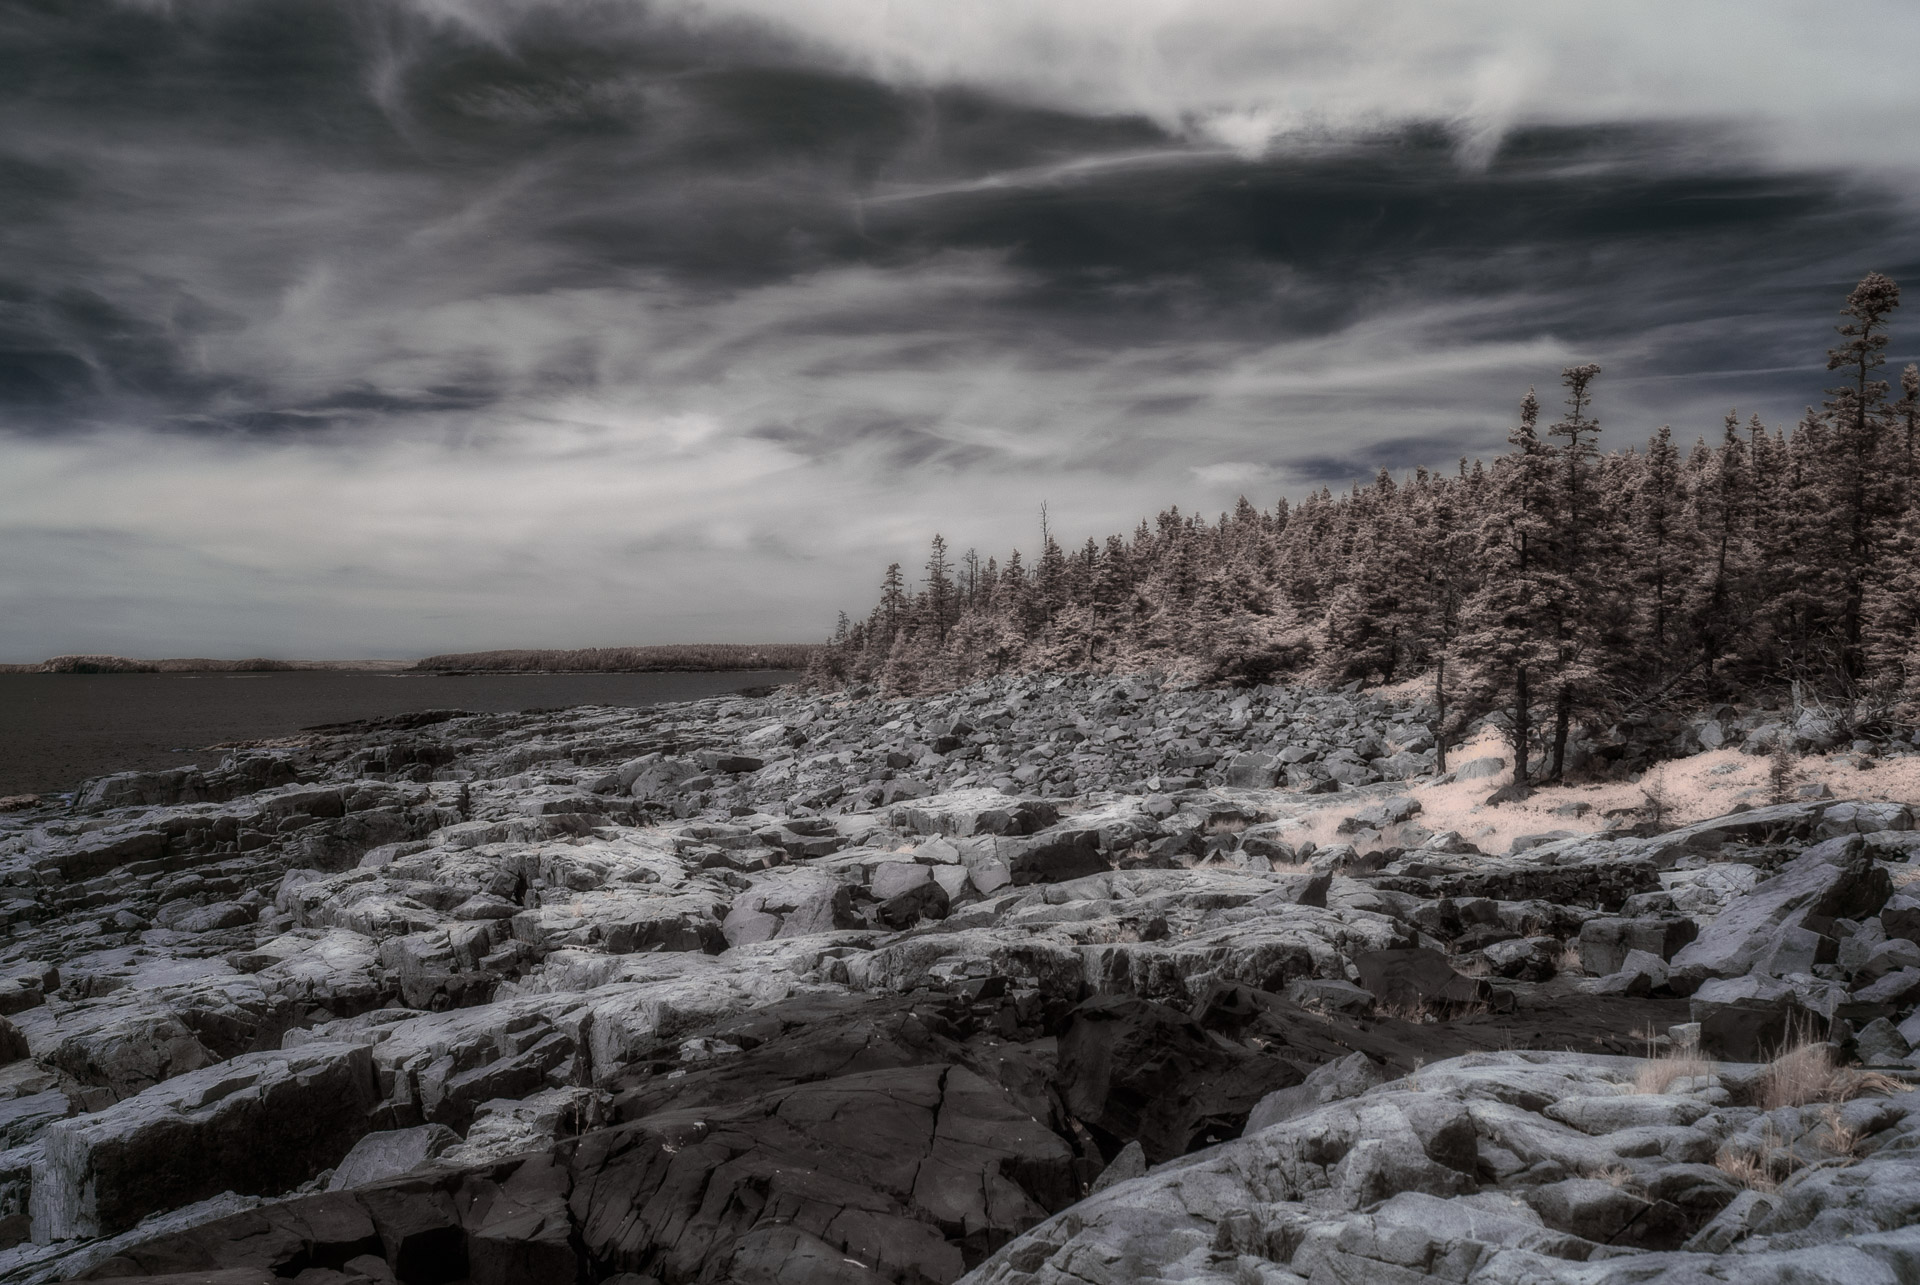
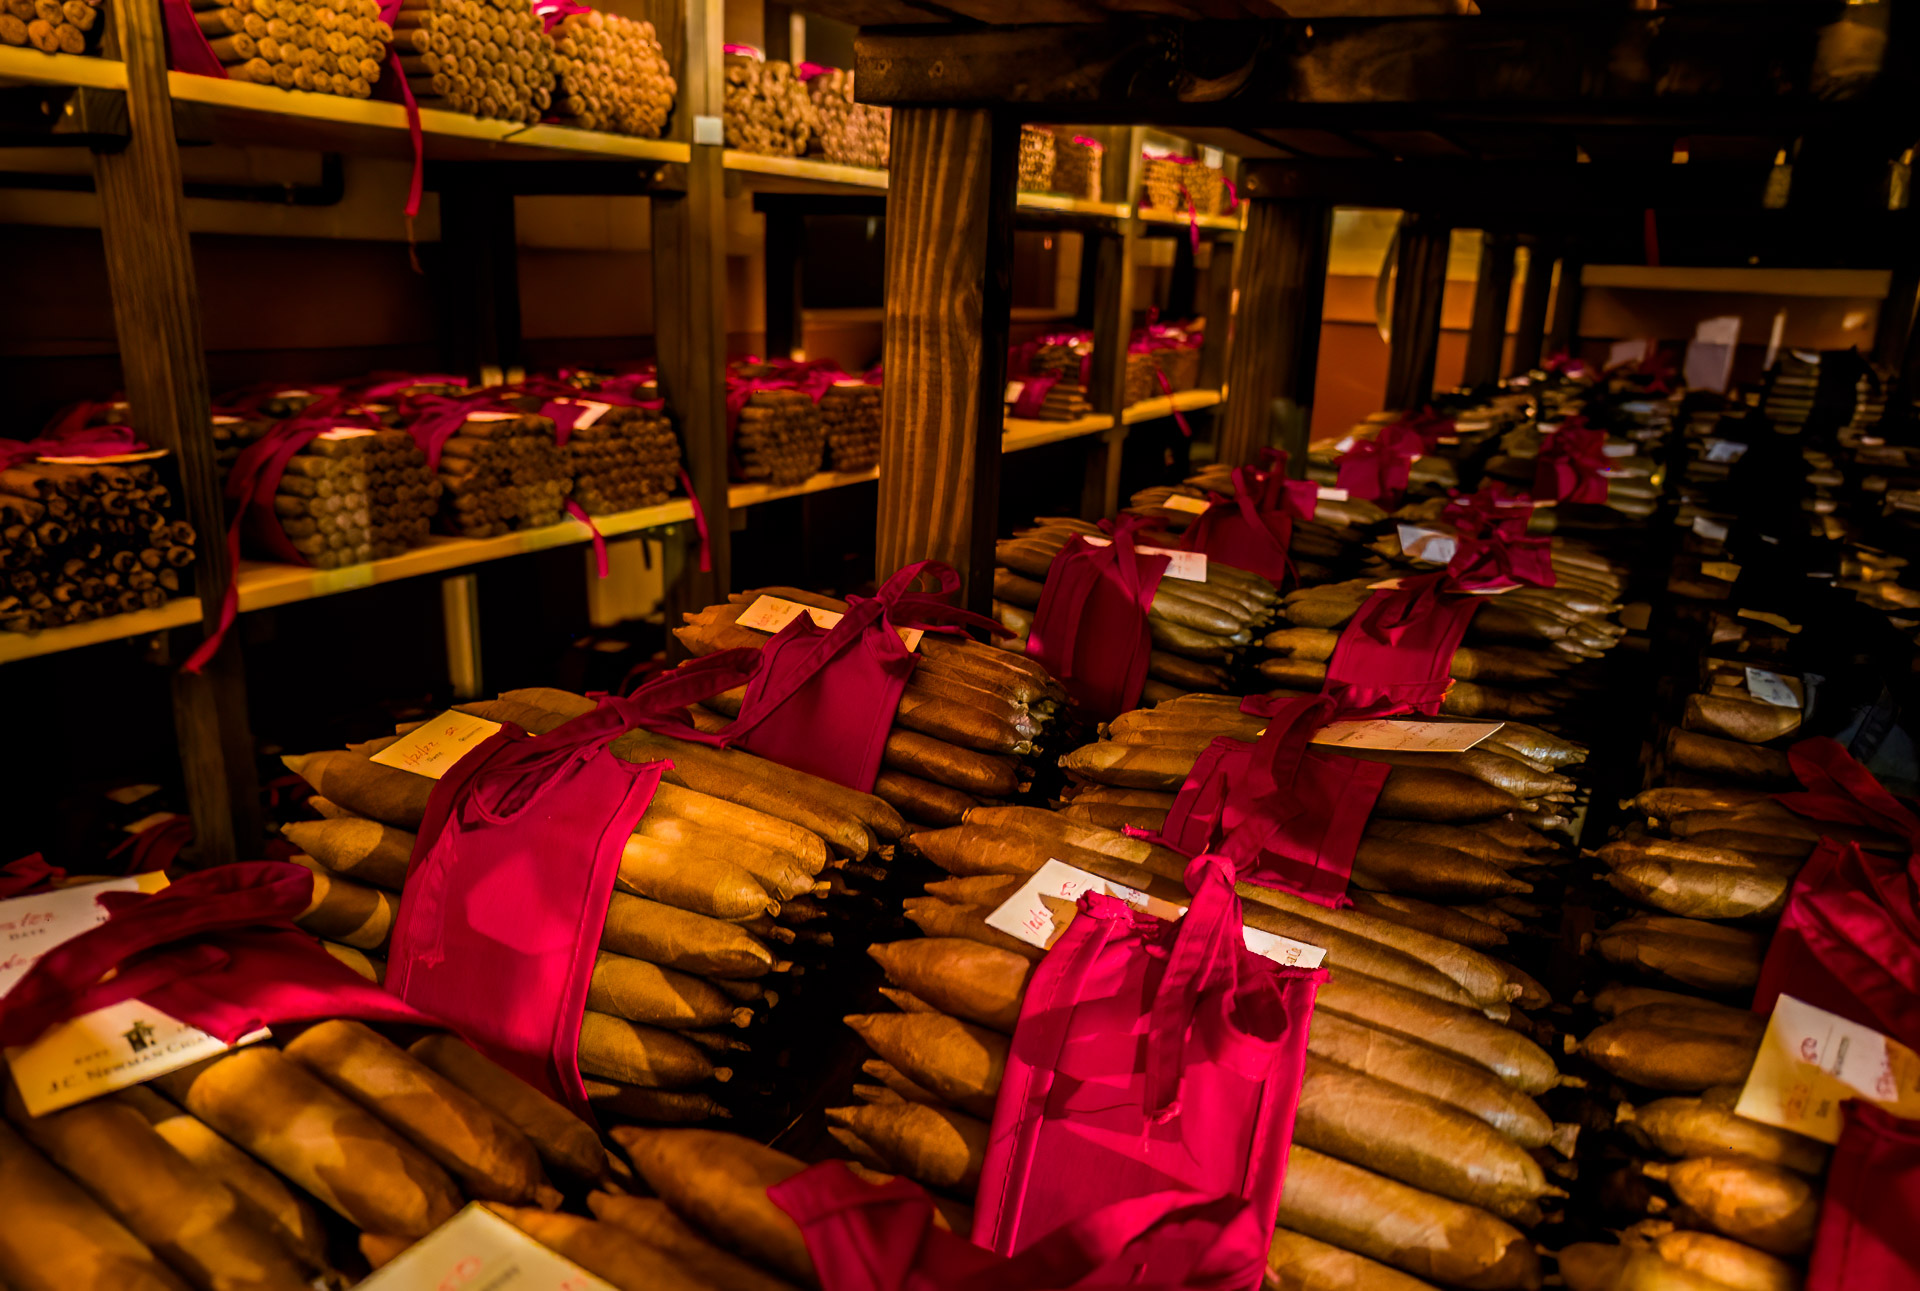
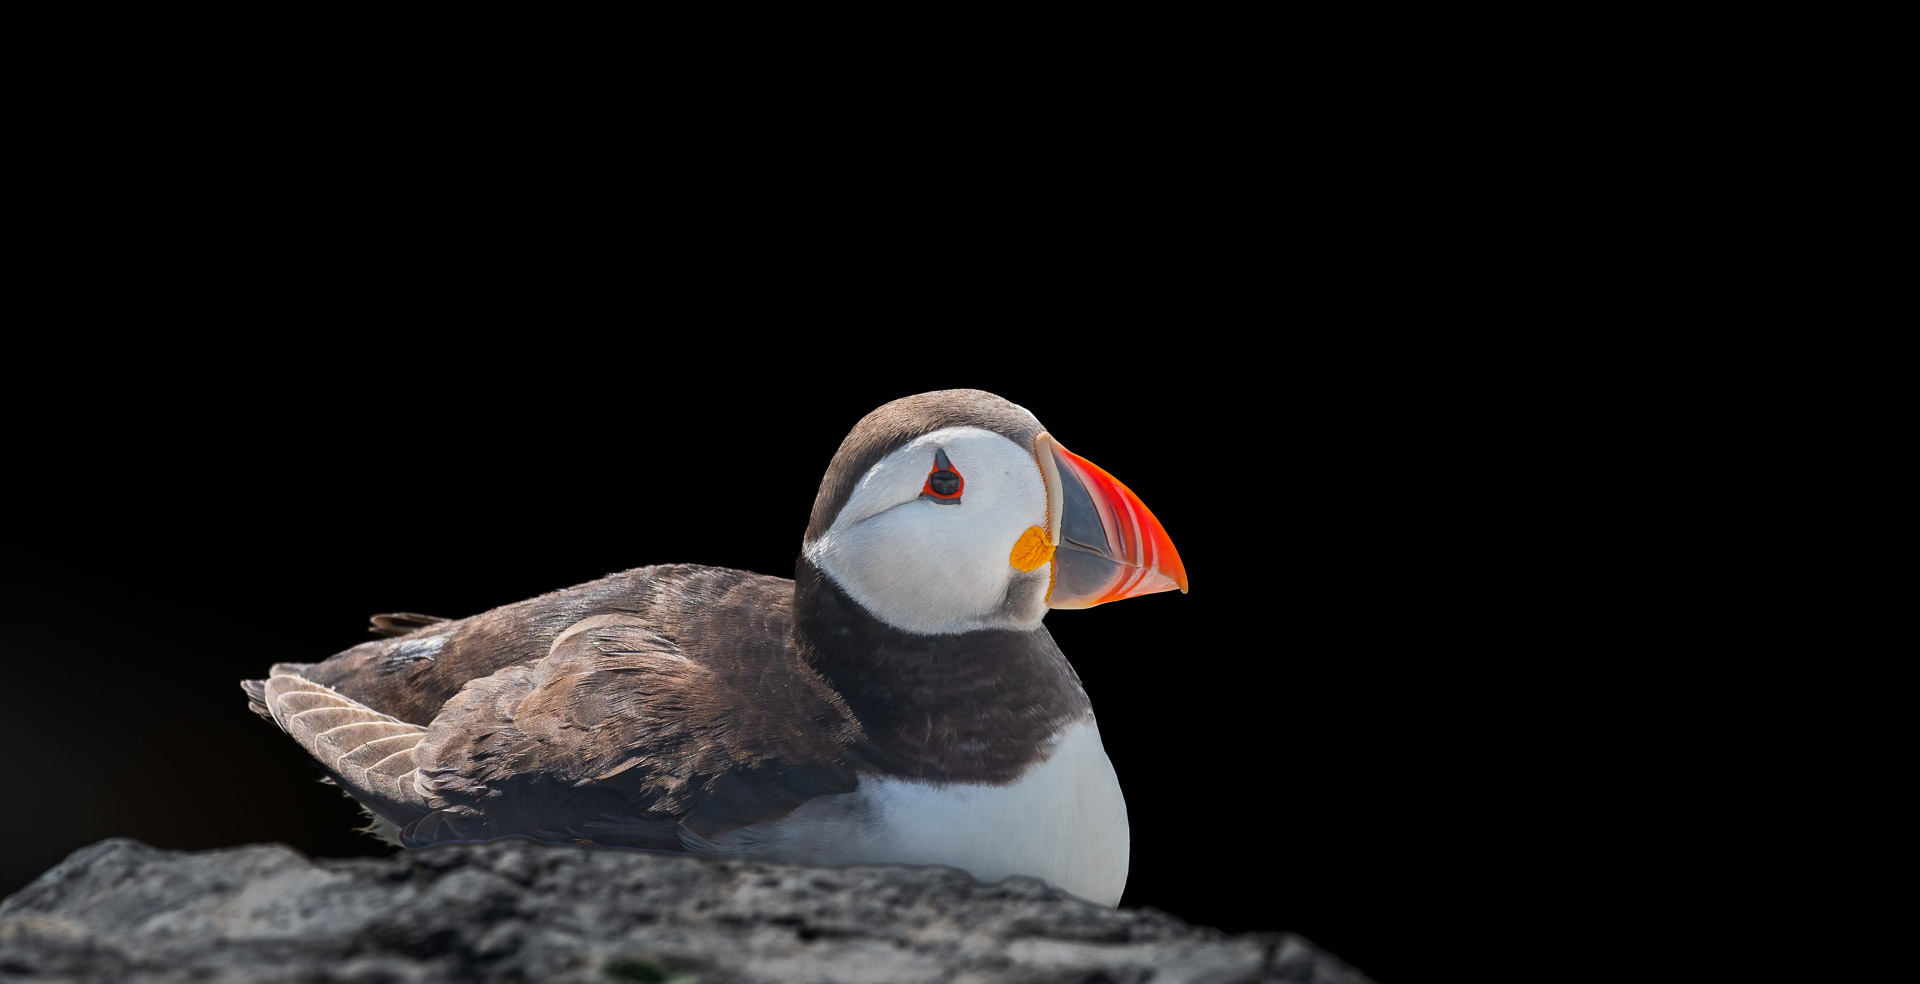
If you are looking for a slightly different way to record your travels photographically, I recommend infrared photography. There are several ways to get an infrared image, from filters to a full permanent conversion of a camera to infrared photography.
Some details from Wikipedia:
In infrared photography, the film or image sensor used is sensitive to infrared light. The part of the spectrum used is referred to as near-infrared to distinguish it from far-infrared, which is the domain of thermal imaging. Wavelengths used for photography range from about 700 nm to about 900 nm. Film is usually sensitive to visible light too, so an infrared-passing filter is used; this lets infrared (IR) light pass through to the camera, but blocks all or most of the visible light spectrum (the filter thus looks black or deep red). (“Infrared filter” may refer either to this type of filter or to one that blocks infrared but passes other wavelengths.)
When these filters are used together with infrared-sensitive film or sensors, “in-camera effects” can be obtained; false-color or black-and-white images with a dreamlike or sometimes lurid appearance known as the “Wood Effect,” an effect mainly caused by foliage (such as tree leaves and grass) strongly reflecting in the same way visible light is reflected from snow. There is a small contribution from chlorophyll fluorescence, but this is marginal and is not the real cause of the brightness seen in infrared photographs. The effect is named after the infrared photography pioneer Robert W. Wood, and not after the material wood, which does not strongly reflect infrared.
The other attributes of infrared photographs include very dark skies and penetration of atmospheric haze, caused by reduced Rayleigh scattering and Mie scattering, respectively, compared to visible light. The dark skies, in turn, result in less infrared light in shadows and dark reflections of those skies from water, and clouds will stand out strongly. These wavelengths also penetrate a few millimeters into skin and give a milky look to portraits, although eyes often look black.
To get started, try one of the available infrared filters that you attach to your lens. Be sure to purchase the correct size for the lens you want to use or buy step-up rings so the filter can be used on any lens. There are a variety of wavelength filters that give different effects.
I was so taken by this type of photography that I had a spare camera permanently converted. I sent my Nikon D200 to Life Pixel to have it converted to their Super Color IR that is equivalent to a 590nm filter. This conversion allows some color through so the above images are possible. Check out Life Pixel’s website for all the available filter types, cameras that are convertible and what is required for the conversion.
Images with a lot of green leaves are the most dramatic as they come through white or very light. Many people think it is snow or ice when they see these striking images!
Due to the contrasts produced by the filter these images also give us some amazing black and white images. Even with the color available I still find I like the B&W more, with some images.
By far, my favorite subject for infrared photography is trees. Because the leaves are white or lighter, the structure of the tree trunk and the branches are more visible than in a regular color or black & white image. Palm trees end up with a bit of glow in the fronds.
Some times a bit of color is interesting too!
You can also get down to just a leaf and it’s structure.
Landscapes are also a great infrared subject!
The only caveat to making false color infrared images is that they need to be converted in Photoshop to swap the color channels so your skies are blue! Life Pixel has set up tutorials to help with all aspects of processing.
Many photographers get hooked on this different way of seeing our world. Give it a try, see how you like it!
Please visit my infrared gallery for these and other images.
That is all for now.
Lynn


